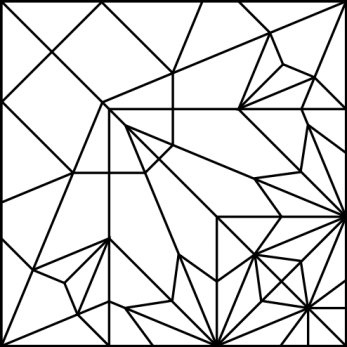
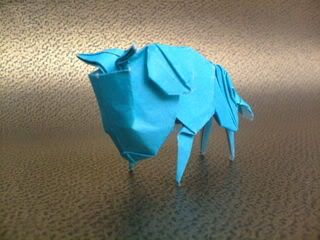
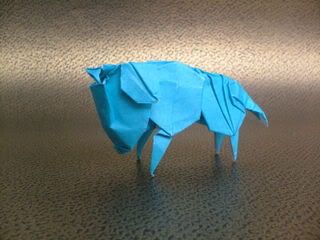
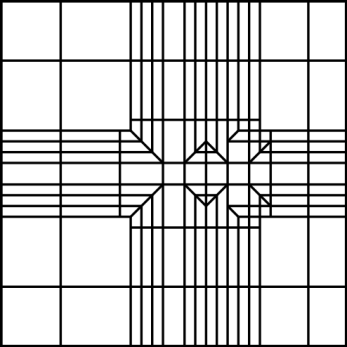
This year is the year of the bull/cow/ox, so everyone's folding them! There is a challenge on the english forum, too, for the subject: Best of Show Bull Contest 2009. I have been working on my bull for a couple of days now, and at first I couldn't figure out how to fold it. I actually tried a few different ideas, and didn't get much at first. Then, I tried folding it diagonally, basing the legs on Noboru Miyajima's Ibex. It worked really well, except so much of the paper went into the head section that it ended up having a very heavy head. Below is the CP that I used. The square making the tail is en eighth from the center of the edge.
This model takes quite a few details, mostly on the head. It doesn't involve many combination folds, so I should be able to diagram it when I get the chance (now that I've finished exams). One of the most important details is swinging the front legs forward so that it doesn't just fall over on its head. The forward legs also give it the appearance of charging.
Saturday, January 31, 2009
Tuesday, January 20, 2009
The 44th President
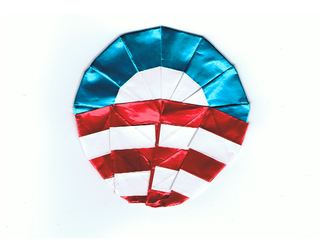
Today was the Inauguration of the 44th president of the United States, Barack Obama. He seems to be all of the excitement about him lately, and everyone is happy to have so much respect for African-Americans to have elected one. I decided to fold a simple color change model, Obama's symbol (at least for the election) which was the rising sun. One part was the stripes, just red and white, and the other was the blue background and white sun. I didn't make a CP for the top part, because its just folded over and tucked, etc. until I had a half circle. Here is the Stripes section CP (divided vertically into 16ths):
I didn't quite get all of the details that I wanted, but it is possible to have it more like the real thing. Using crimps, the model can be made into a circle (two halves). With correcting, you should end up with something like this:
Saturday, January 17, 2009
Toasty Warm
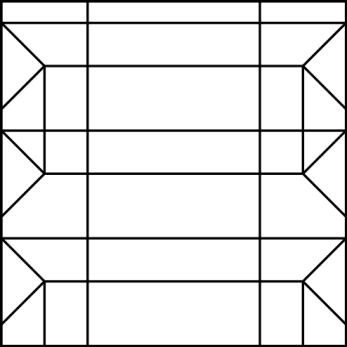
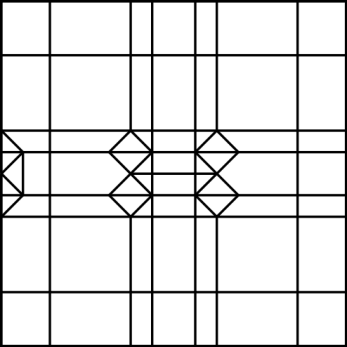
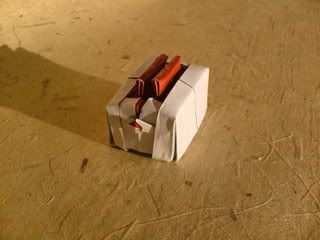
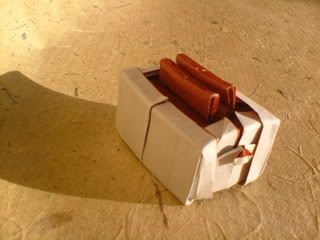
As usual, I couldn't find something to fold for this month's challenge on the english forum, Color Change, mainly because it doesn't ask for much... Its harder to come up with something that has only two colors and is worth folding rather than knowing what you have to make and deciding where to put the color changes. I started off with a kleenex box, a nice simple design. However, it looked awfully like a toaster, so I added another piece of toast and a "button" (I don't know what else to call it... The thing that you push down) on the front. It is a very basic color change, a lot like my last design. All it is is the edges being folded in close to the center. Here is the CP for this model:
As you can see, its not too hard. Just two points facing up to make the toast. After folding in the edges, you have to make the model 3D by pleating the sides into a rectangle shape, and then lock the bottom by folding some of it inside the toaster. The button is made from the small section on the left of the CP, with just some simple 22.5° angle folds to make a color change. Good luck!
Wednesday, January 14, 2009
The First Bit of Green
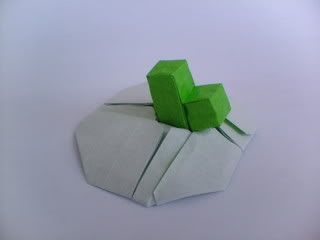
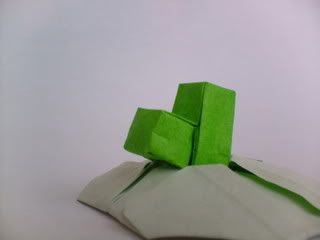
The challenge this month on the french origami forum is Perce-neige, which is the rough equivalent of snow piercer (Its also a type of flower, but I prefer the literal meaning). It means the first blooms in the spring, often before the snow has melted. When I think of that, I think of the first healthy-looking grass that pops up in the spring. I decided to fold that, and make it on a really small scale. At first, I wanted it to be flat, but I decided that 3D looked better.
That if from a 32:32 grid, by the way, and it is made with the building block method that Shonen uses. I decided to make the main part 2 units (2 1/16ths) tall, and 1 unit pointing out to the side. This looked to me like some small and new blades of grass. To add the snow, I just folded the edges into the main piece, and folded some corners to lock it. Here is what I ended up with:
Thursday, January 1, 2009
Its a... New Year!
It was hard to decide between this title and "I'm dreaming of a White New Year". We had a nice big storm, which I guess is still going, and it brought plenty of snow. However, its so windy now that you can still see some grass in places where the snow has been blown away.
It wouldn't really make sense to fold Father Time for the Old Year and no baby for the New Year. So, of course, I made both. I actually folded them both on the 30th, but decided no to release them until New Years eve and day. In case you don't understand, the baby (often with the new year written on a sash) represents the new year, so father time and the baby are often seen together. Here is the CP that I used, out of a 16:16 grid.
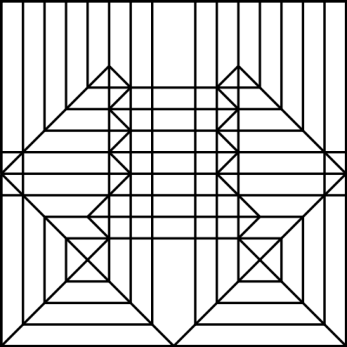
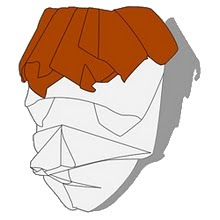
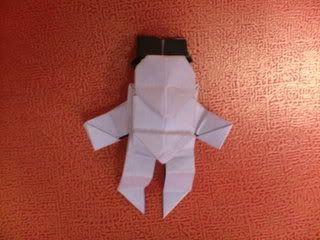
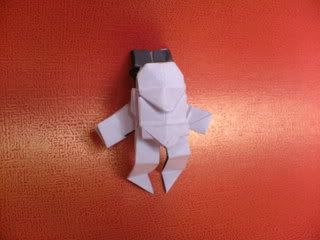
There isn't much to the details for this baby. The left and right flaps are hands, the bottom left and right are feet, and the bottom flap is the diaper. There are 4 flaps above the diaper, and two of them are hidden, one under the other. The other two flaps make the face. The top part can be color changed to make the top hat, and then just make a couple flaps to make the brim.
Subscribe to:
Posts (Atom)