


The lock on the bottom of the model took a bit of playing around with. At first I wanted to use half of the cube width, but it ended up too weak. Eventually, Roman Remme came up with a simple symmetric lock as shown in the CP.
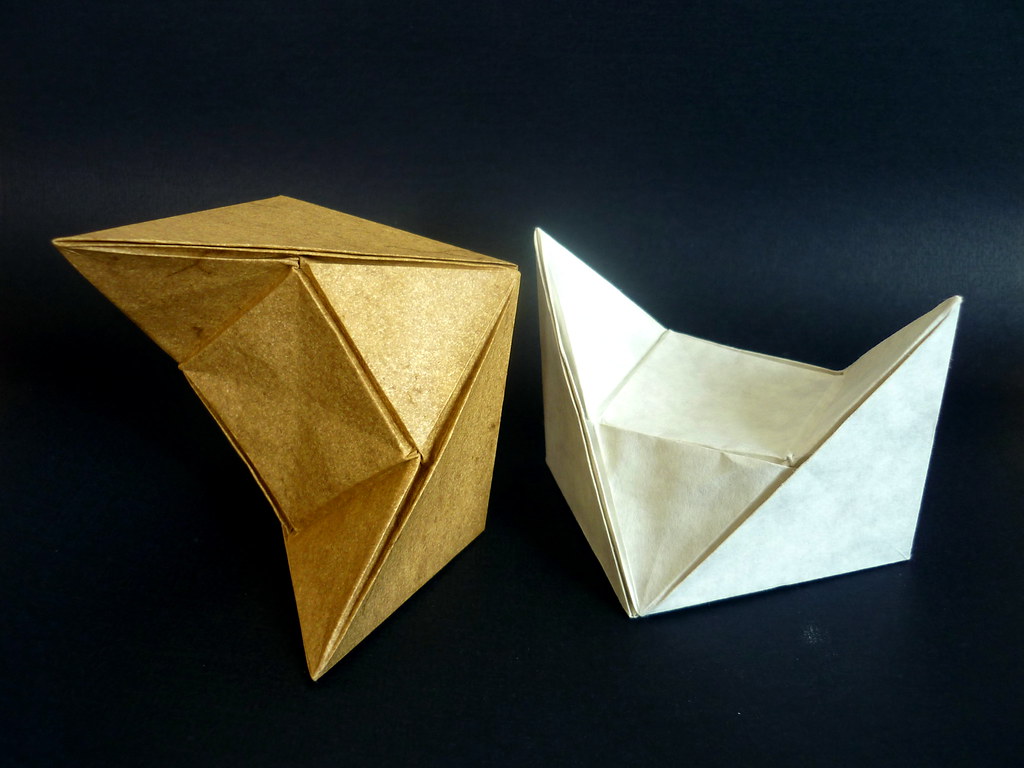
But that's not all! I realized that there was another way to make a saddle point in a cube. Instead of having edges directly to the centre of the cube, I could have a flat square in the centre with equilateral triangles connecting to the corners. Here is the resulting CP:

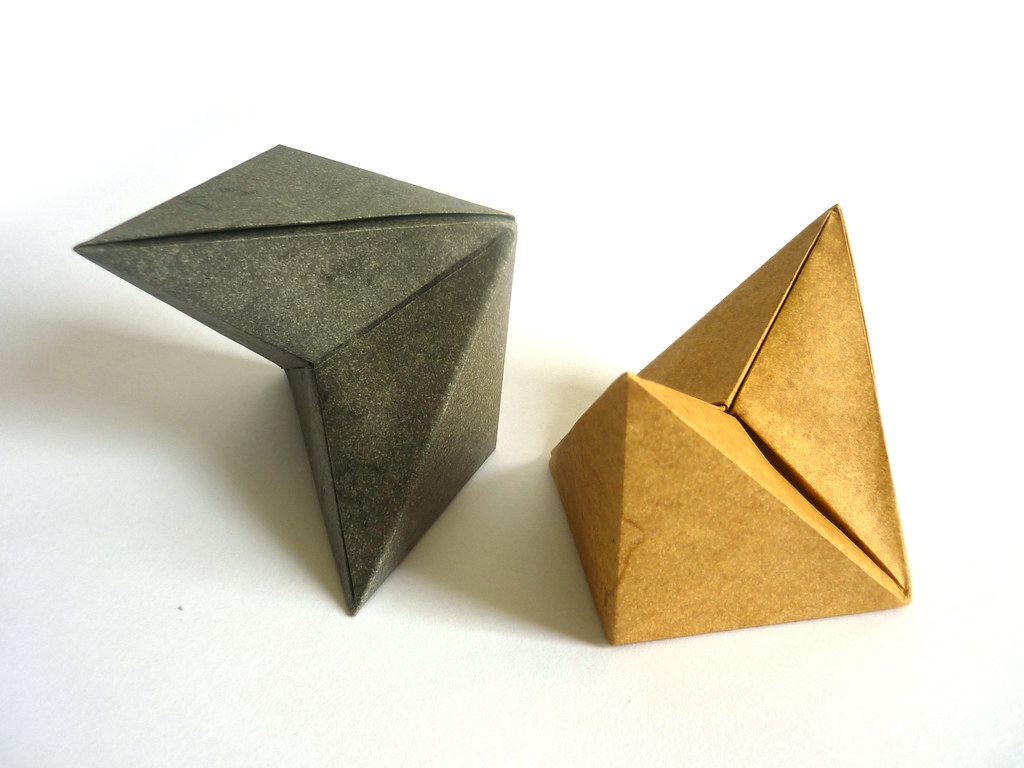
The references are 15 degrees from the corners, which can be folded quite easily as mentioned in my last post. The lock for the bottom of the cube was the same as before. From the side, the result reminds me of the 元宝 (yuanbao), an old form of Chinese currency.
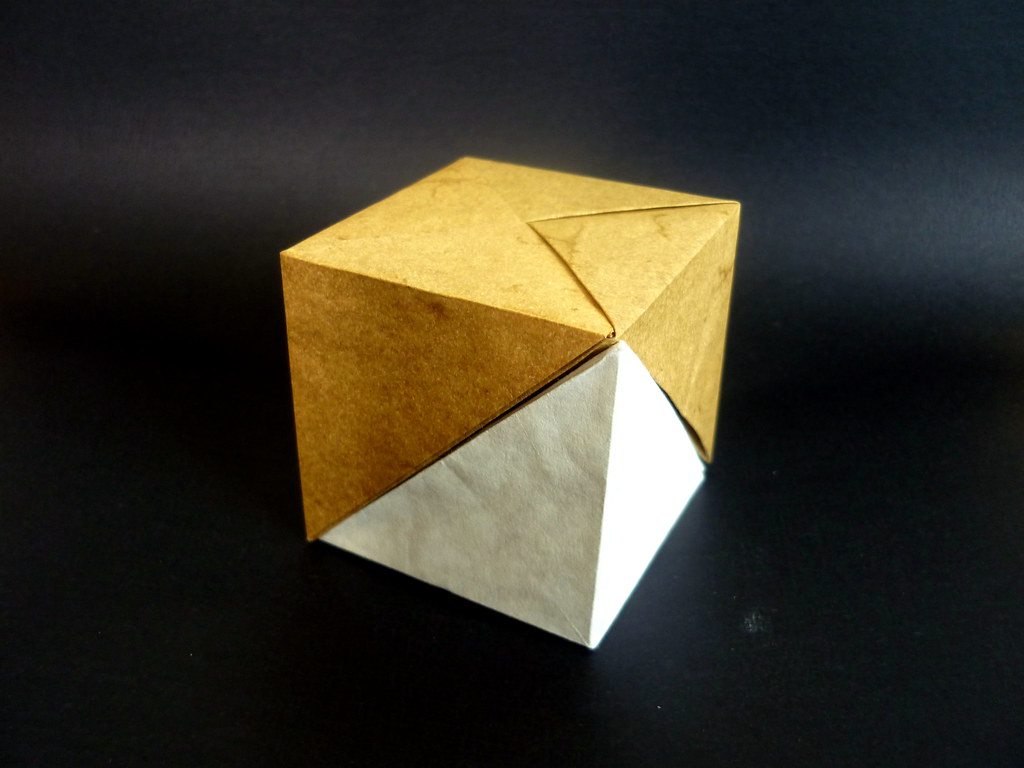
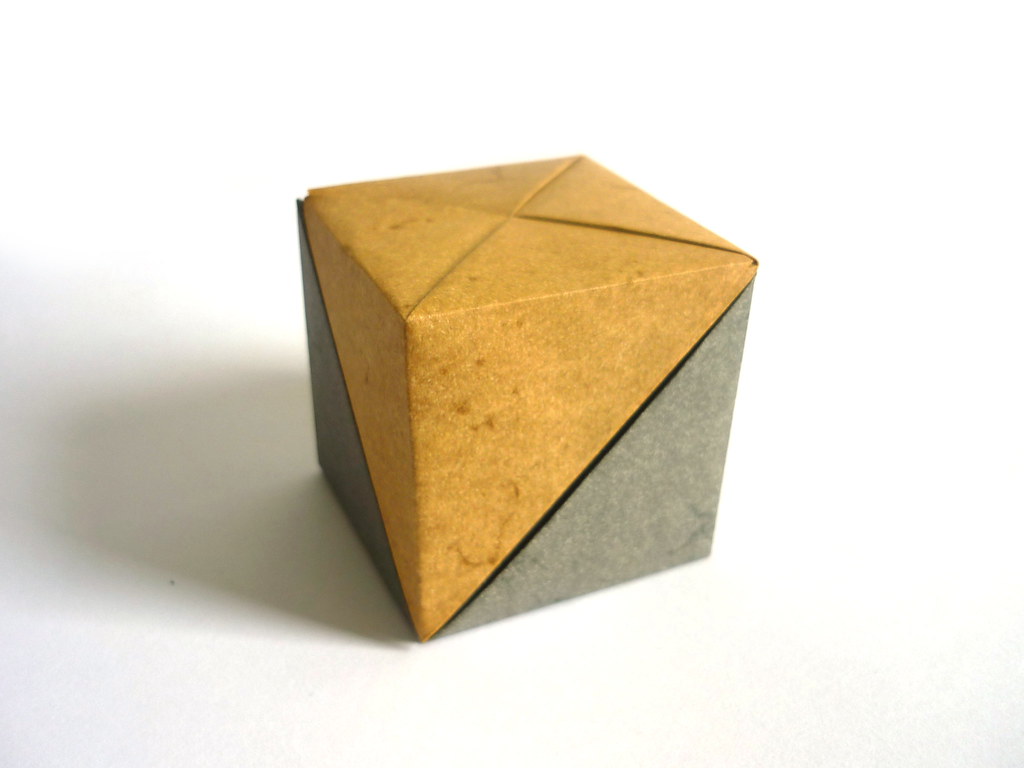
Because both models were based off the same geometric shape, I decided to call the first a pointed saddle cube bisection and the second a flat saddle cube bisection. The best part of these models is being able to take the two pieces apart and fit them together.
5 comments:
Thanks for the posting. This is neat.
I didn't find yet a good folding sequence to get the inside "saddle" lock clean and reliable.
Best regards,
Jean-Pierre
Hi Jean-Pierre,
Which lock are you referring to? At the saddle point vertex of the 'pointed saddle' bisection, all papers that I tried held the shape as long as the bottom of the unit is tightly locked.
Thanks for your reply, Ryan.
I am indeed referring to the saddle point vertex. I was not saying the lock is not satisfactory, it is just that I have some trouble folding it cleanly, I think I have not found yet the proper sequence of folding : it apparently must be done "from the inside" of the half-closed half-finished shape - or maybe at the very beginning of the process ?
Once finished, it sure hold the shape, but my paper is somewhat messed-up, so it could be nicer.
The bottom lock is easy and pretty "origami box standard" way of closing a shape, so no issue here.
Anyway, I just made a couple of attempts with plain print paper, so there is room for improvement here ...
Jean-Pierre
Ahh, I think I understand. In the image below the crease pattern, first I pinch the 3/8 line (the dashed red line), then I fold the 22.5 degree angle (the black dashed line), then I refold the red dashed line through both layers to give the thin red line. I then fold other lines that match the thin red line on all 4 sides to get a small diamond. The references are where the diagonals touch the sides of the diamond.
If the issue is with collapsing it, I always collapse along one central line (i.e. vertical) before collapsing the other and pinching in the centre to give the small diagonal lines.
Thanks very much for the directions.
I will proceed accordingly, and with better paper.
Best regards,
Jean-Pierre
Post a Comment